Installing the woodwork in the Tudor Bakery has been extremely frustrating. Several of the pieces I thought I'd cut perfectly turned out to have been cut wrong--and one piece that I thought was cut wrong, and subsequently re-cut, had actually been cut right. So I ended up making the same blasted thing three times.
Additionally, I discovered that I'd totally neglected to cut some very important pieces--including the second half of the sales window. I don't know about you, but I, for one, get totally overwhelmed by too many bits and pieces. I like to install things bit by bit, so I can keep them straight! Even with labeling, sometimes it's just too confusing for my little brain to handle.
At the moment, I'm in the process of cutting and re-cutting some new pieces. Hopefully we'll be able to get this show in the road, soon! I'm honestly getting a little bored of doing the same thing over and over again.

This is the stove, right before I grouted the tiles. I had a somewhat difficult time figuring out what to do with this surface, as the tiles I'd originally planned on using weren't a great fit. I am, however, much happier with this solution than I was with the original.

I think the scale of these tiles is more in keeping with the overall scale of the fireplace, and the room.

Here I am, dry fitting the sales window.

And realizing that I'd only cut half of the shutter.

I started gluing in the pieces, one by one.

I like these little clamps for trim.

The next big phase of this project is finishing the exterior woodwork, so I can clad the surfaces.

Here's one of my little boo boo's. I realized I'd cut the rebate too large, so instead of cutting a whole new piece, since I'll be antiquing this wood so much anyway, I just cut a little filler piece. I don't think it'll be visible in the final project.

Here's the fireplace, all grouted and installed. I daubed on some extra stone along the back, to cover up some grout film I couldn't quite remove. I'm extremely particular about crisp-looking finishes, and don't like when things look muddy. Unless, of course, I want them to look muddy...

Next, I installed the (first part of the) mantelpiece.

Here I am making sure everything is squared.

And here's the second part of the mantelpiece.
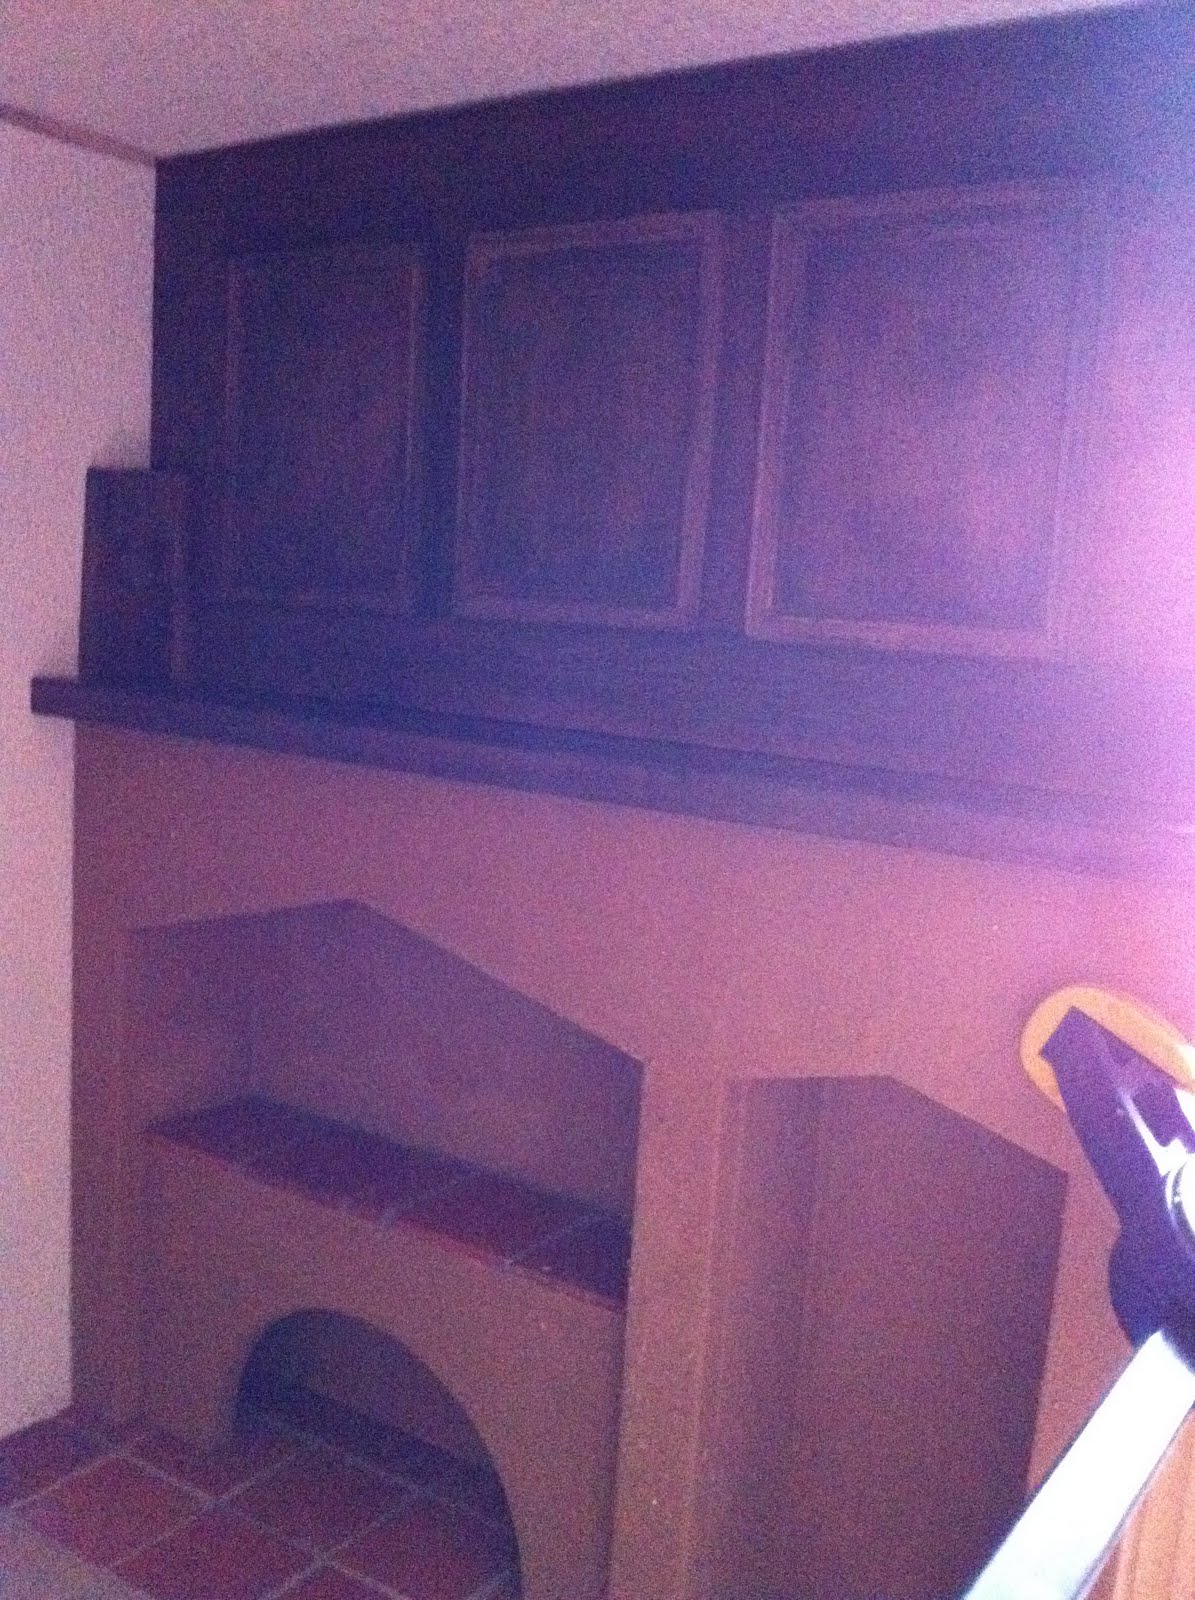
The woodwork here is darker than the woodwork upstairs, the idea being that, down here, it would've darkened over time from exposure to so much smoke and grease.

And here's when I discovered that I'd cut the crown moulding wrong.

Here, I'm dry fitting the shelves.

They'll look good, I think, when they're finally installed.

This is a challenging corner to work in, because it's so dark.

This is the second, smaller shelf.

The door doesn't have any hardware yet.

And here's where I wondered how the heck I'd forgotten to cut the second half of the shutter? The bottom part forms the sales area, and the top part forms the awning. I'm also still contemplating how, exactly, I'll attach everything. When it comes to (good) dollhouse hardware, the choices are pretty limited.

Painter's tape...so historically accurate!

I am NOT looking forward to finishing all this half timbering.

I think I'm going to be very happy with the way the half timbering on the lower part of the house looks. I made it slightly wider than the half timbering on the top, which hopefully will give the lower half of the building a sturdy look, as well as contribute to the overall "off kilter" effect I'm going for.

An important consideration, when you're building shelves, etc, is what you're going to hang there. Here, I'm installing the third and final section of the mantelpiece, which has hooks for pots. I collect J. Getzan copper pots pans, and wanted a good place to put them. Many of my pieces, like my ebelskiver pan, would work perfectly in a bakery.

I purchased these lovely pieces from SP Miniatures.

While everything dried, I resumed painting the half timbering.

Gee...now I need to varnish it all.
1 comment:
It looks great! I few little mistakes are just a lesson to learn. I am always amazed at your work and how you can even do it, let alone fix it :-)
Post a Comment